To add a roster, go to the Duty Roster module and click on it. The Duty Roster page will open. On this page, at the top right corner, you will see the 'Roster' button as the second
option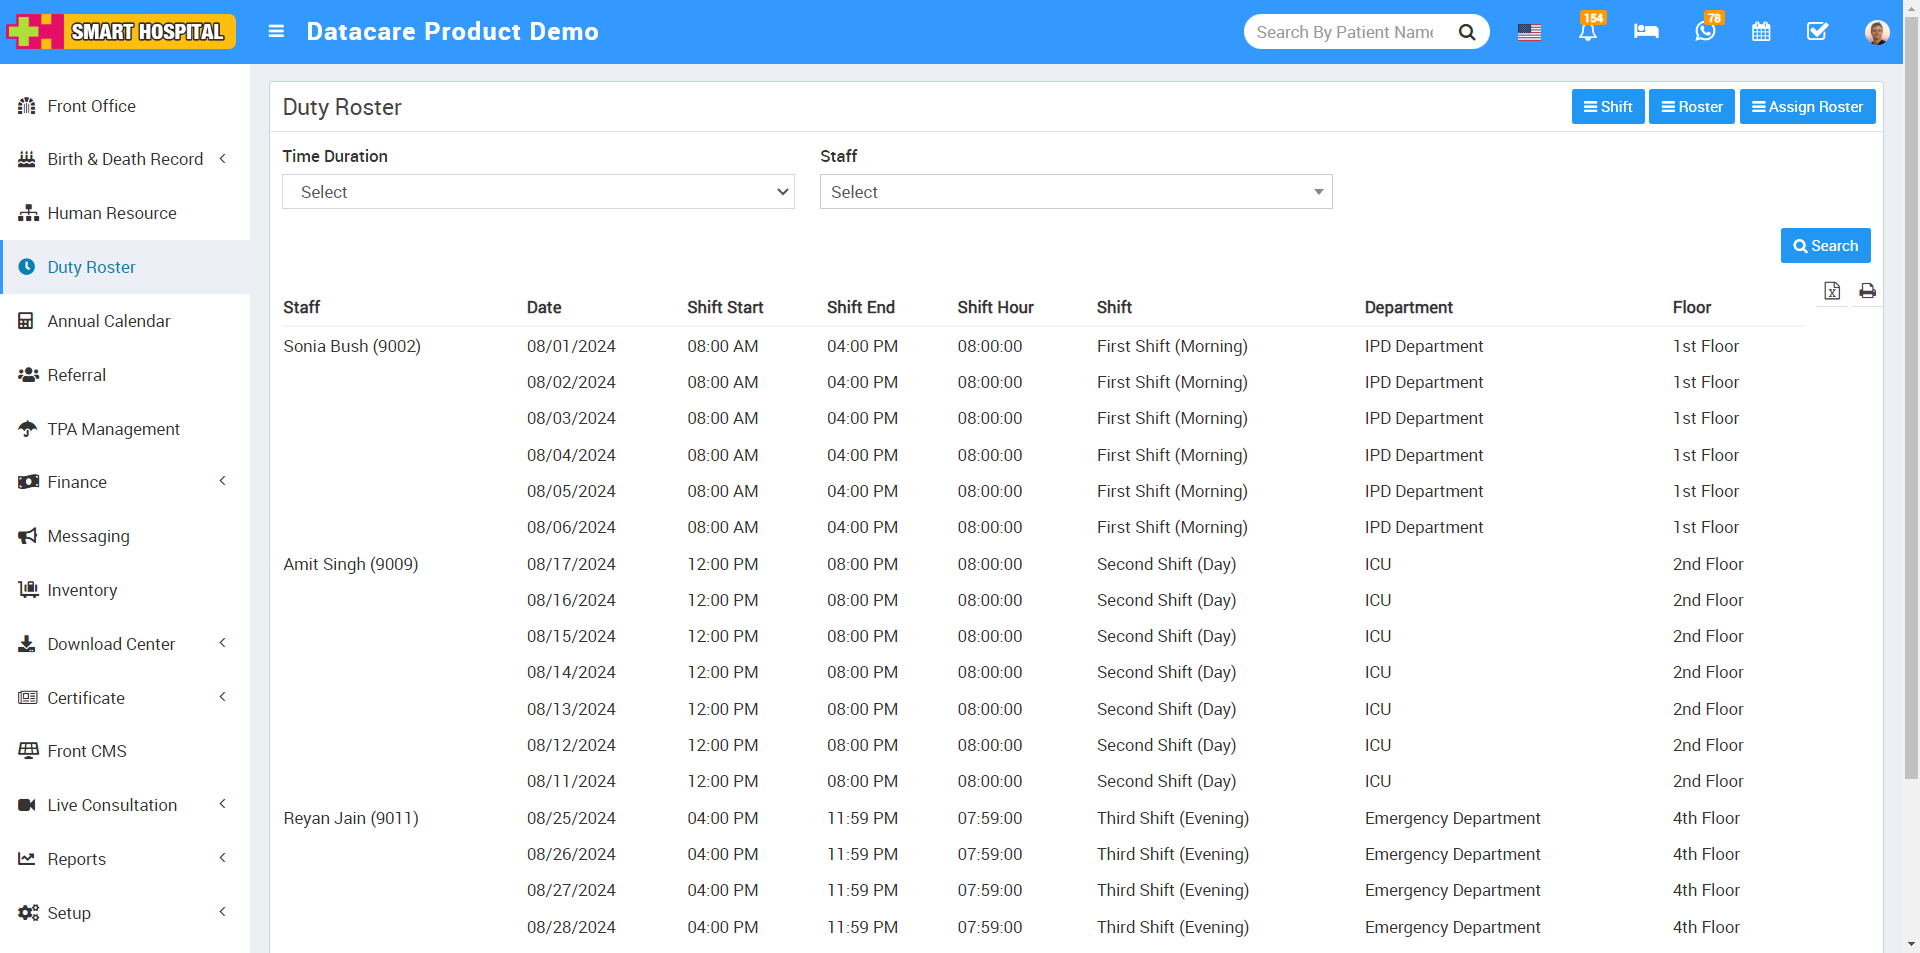
Now simply click on the Roster button, Roster List page will be open
On this page, in the top right corner, there is an 'Add Roster' button. Simply click on it to add the roster.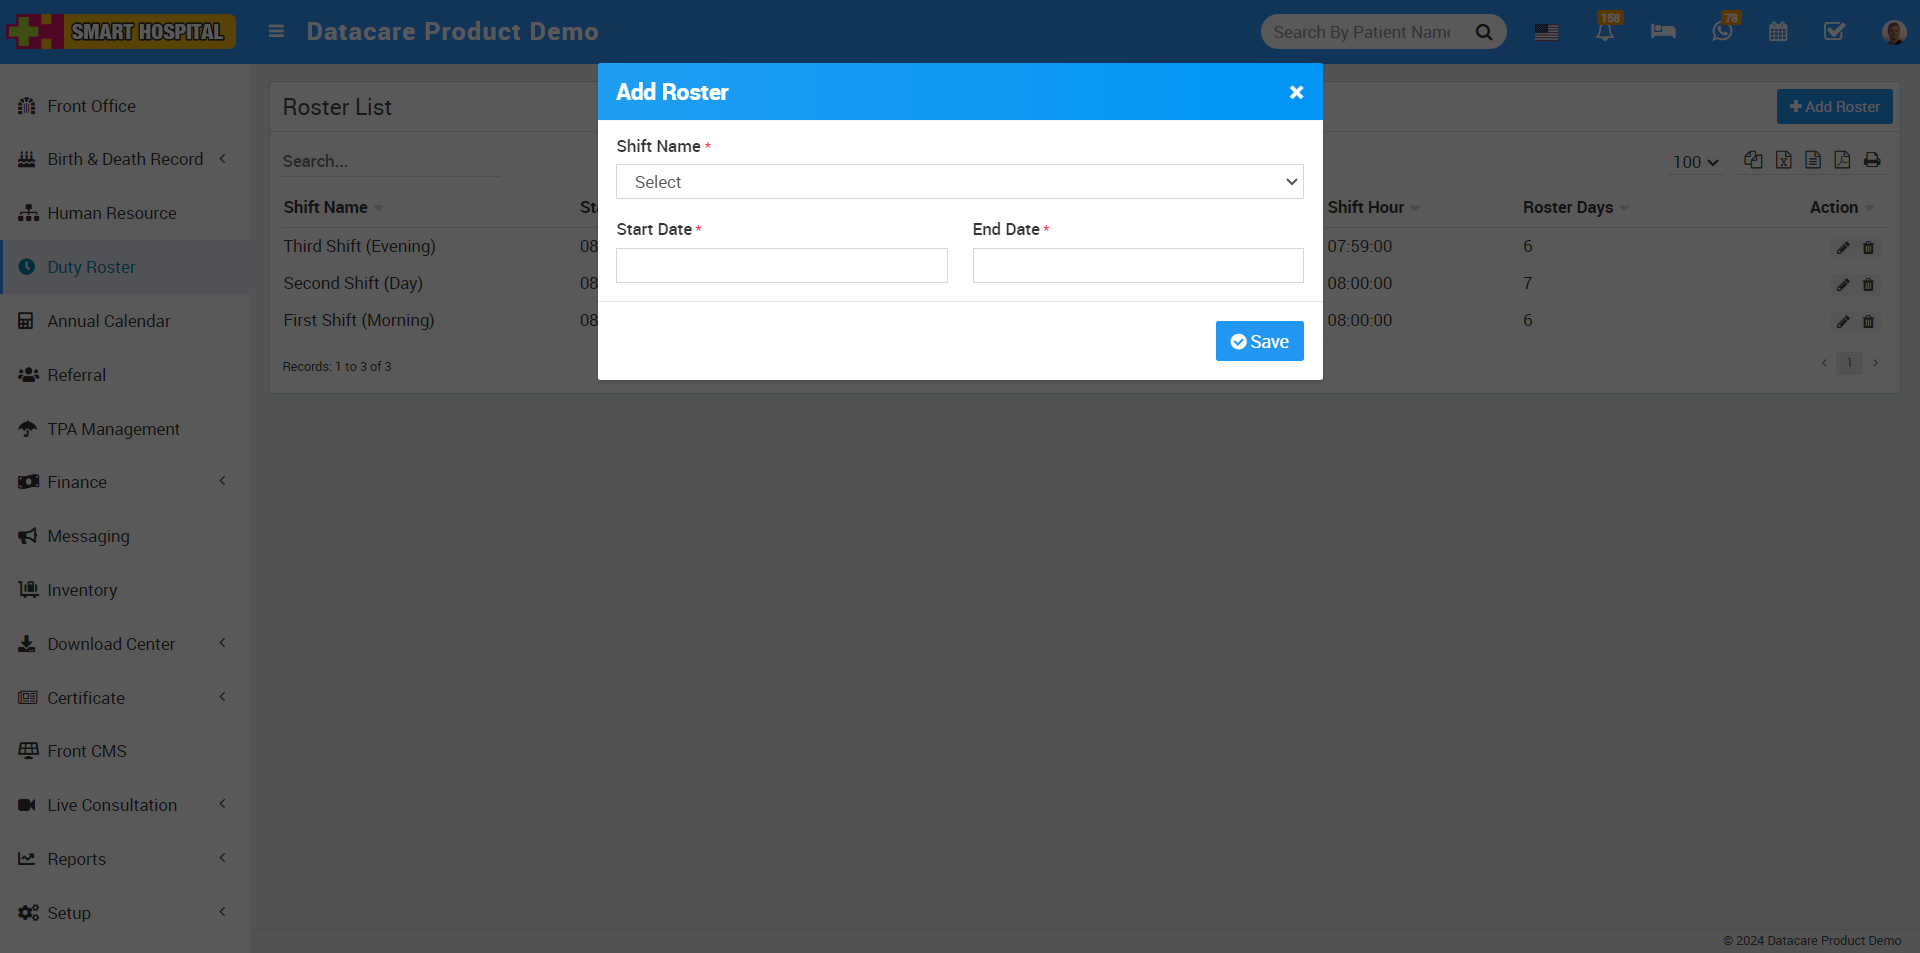
In the 'Add Roster' window, first select the Shift Name for which you want to create the roster. Then, select the start date and end date, indicating the period during which the roster will be applicable. Finally, click the 'Save' button to successfully add your roster. After clicked on save, your saved details will be display on roster list.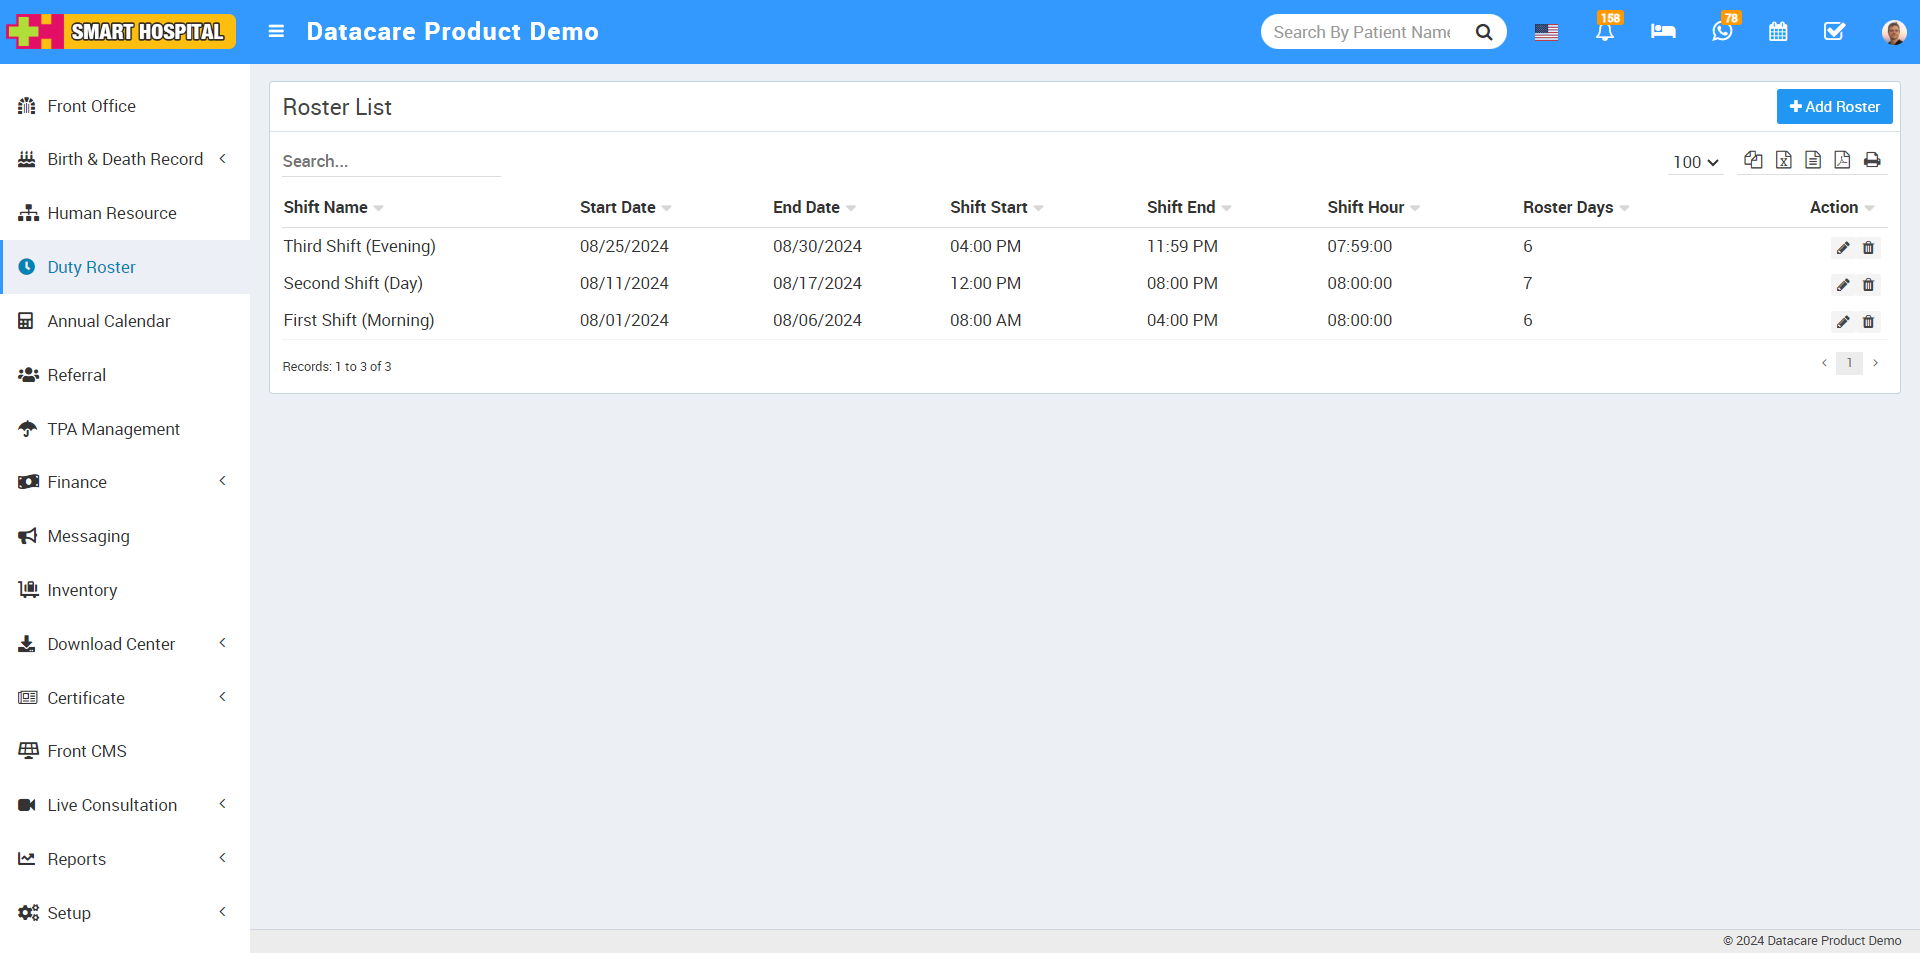
To edit the roster, simply click on the pencil icon on the right side. The edit window will open. Update the details and click the 'Save' button to successfully update your roster.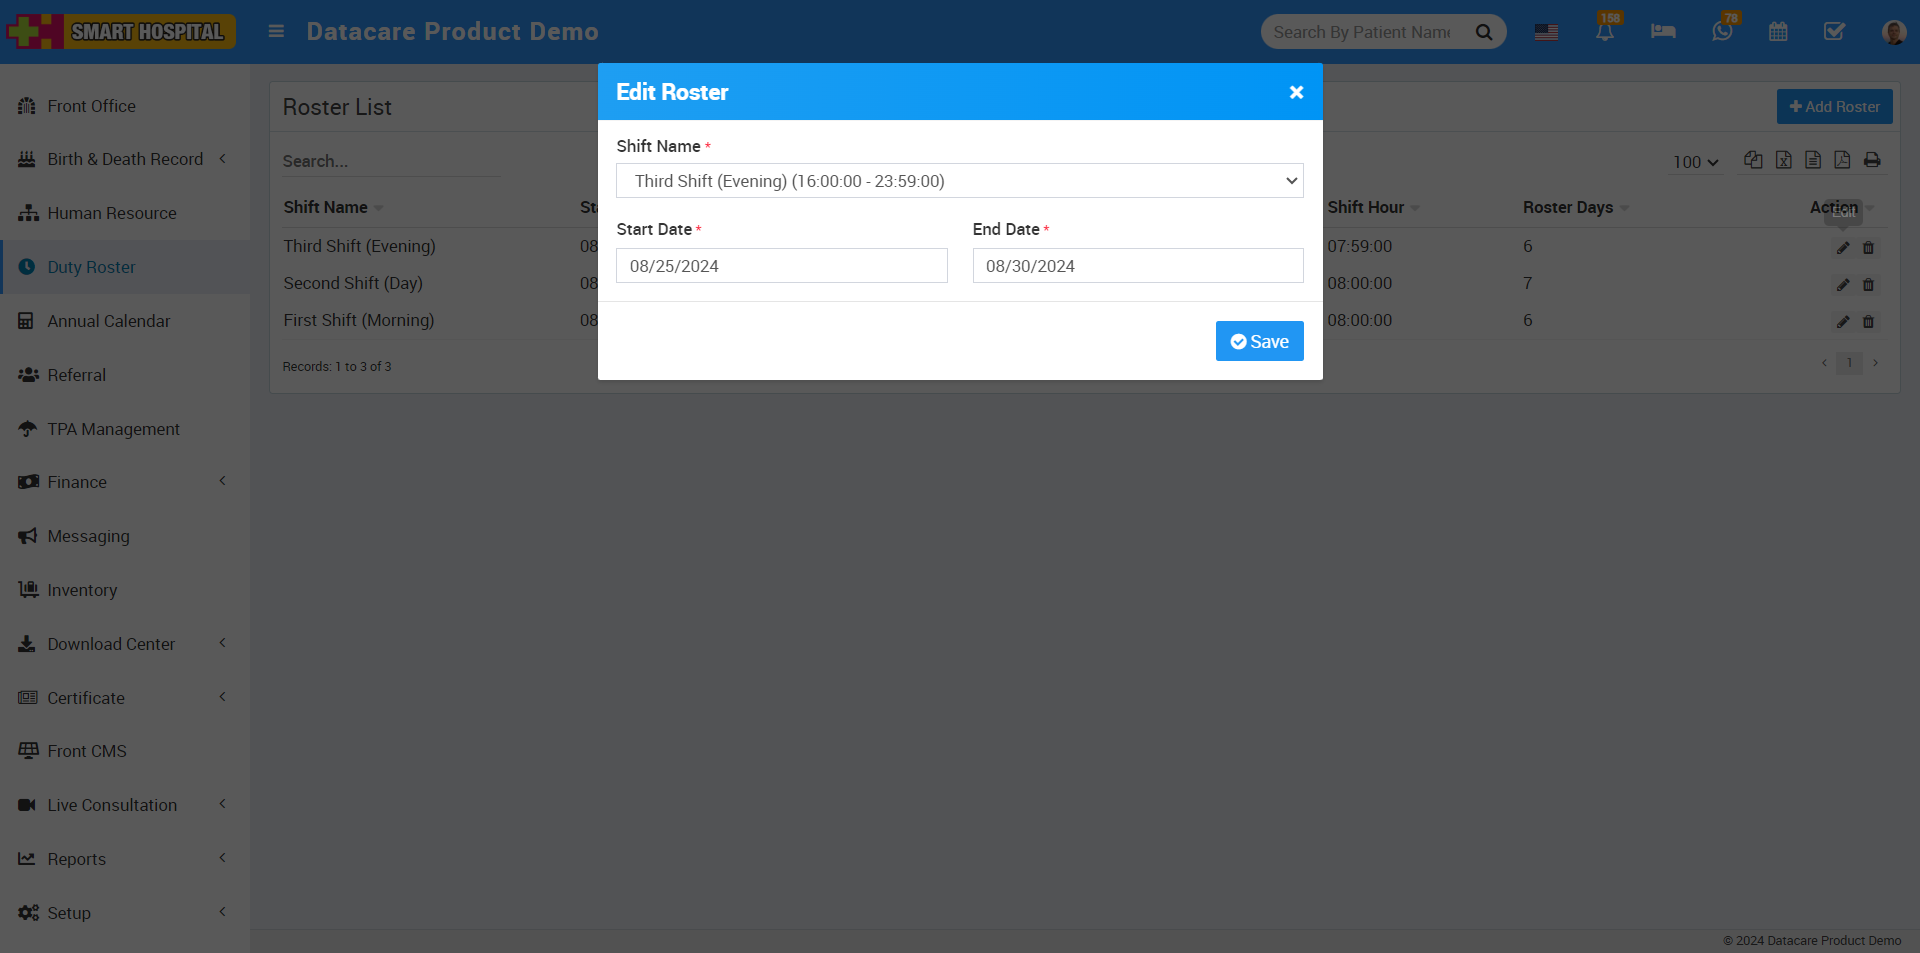
To delete the roster, simply click on the delete icon on the right side. A confirmation window will open. Click 'OK,' and your roster will be successfully deleted.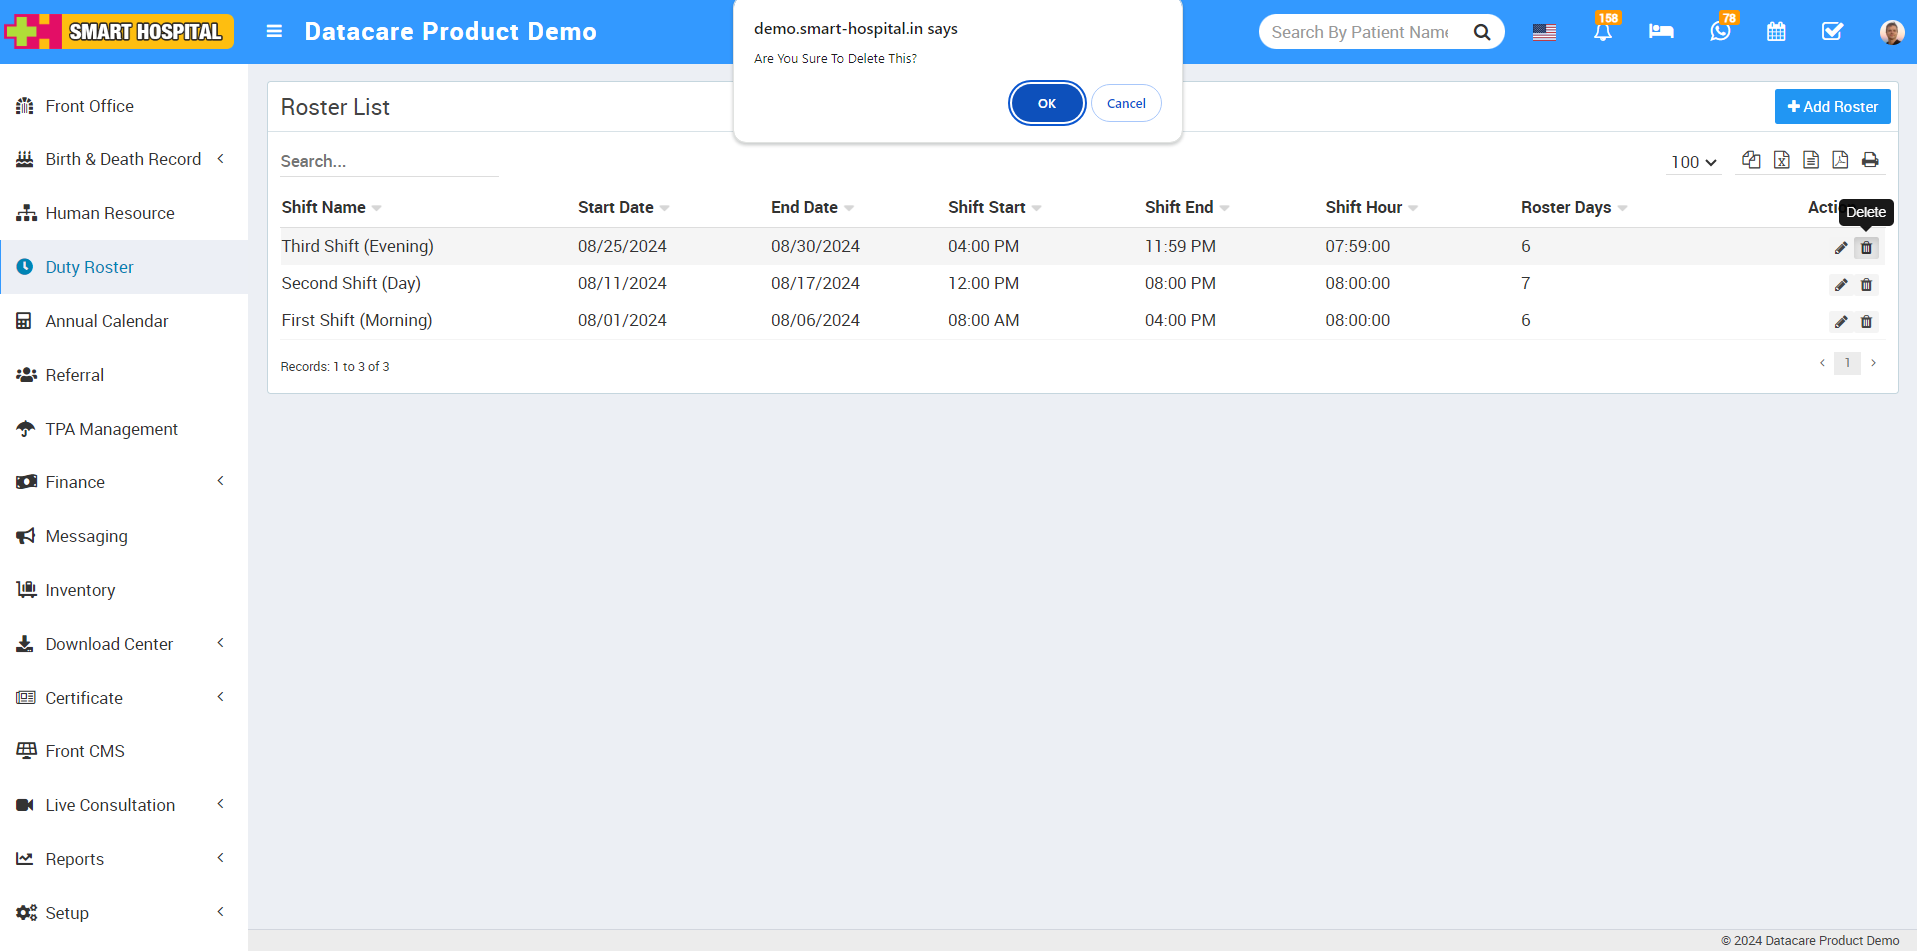
How to add the roster in duty roster module?
Thu, 05 Sep, 2024